DIY Christmas Manicure at Home (Salon Looks Without the Salon)

Intro
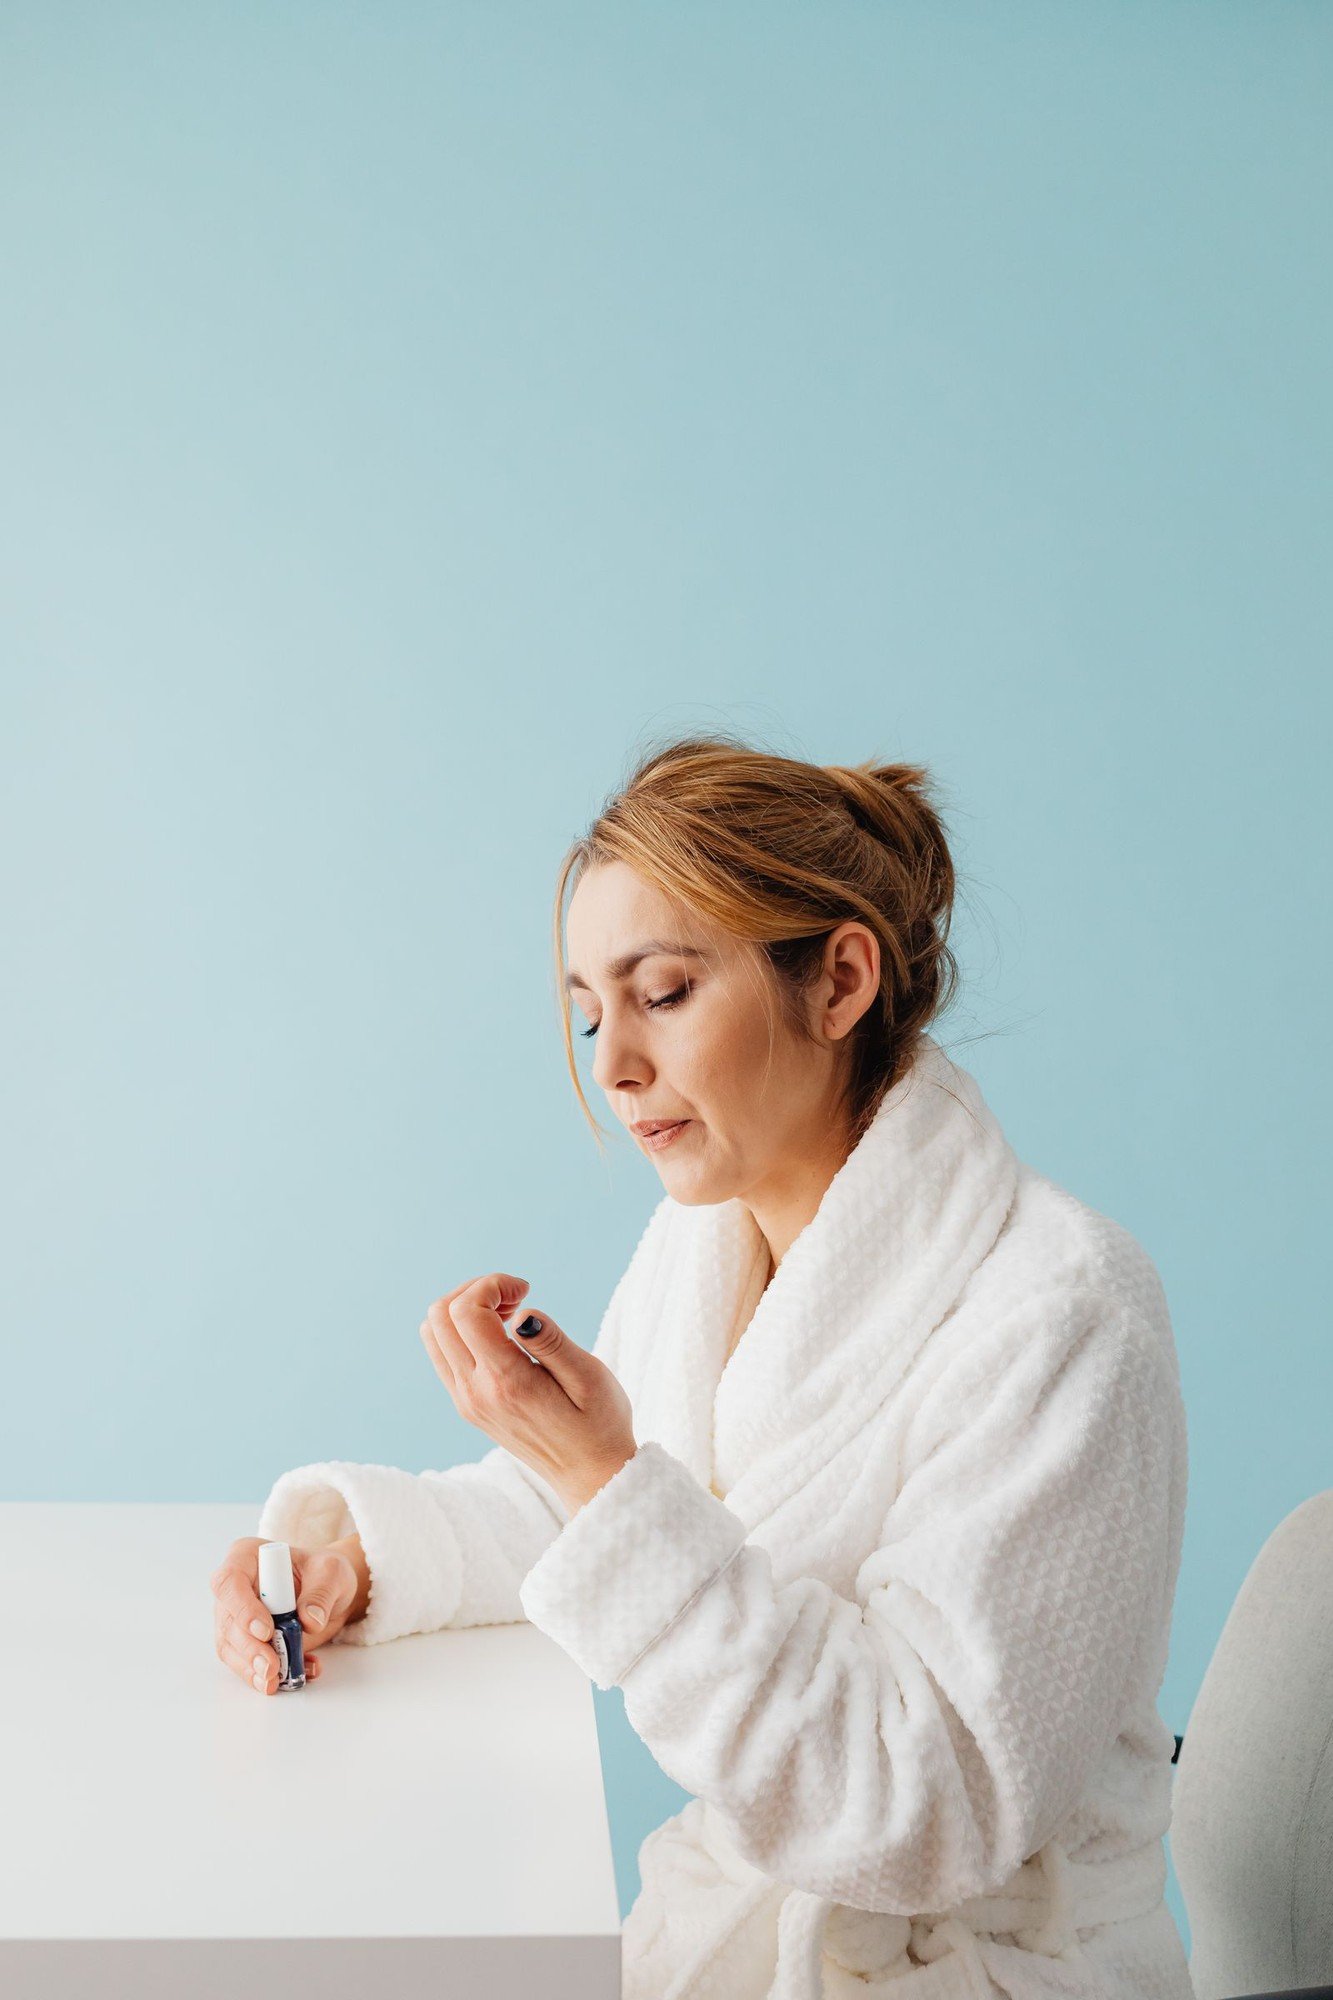
A DIY Christmas manicure is the quietest luxury of the season. No booking, no waiting room, no salon price — just an evening at home, a cup of something warm, and nails that look like you paid for them. And at Christmas, when every salon is booked solid for weeks, doing it yourself is often the only way to get festive nails at all.
The difference between a home manicure that looks homemade and one that looks salon-done is rarely talent. It is order: shape before polish, base coat before colour, thin coats, and a top coat that gets reapplied.
Why You’ll Love This
- No appointment needed. Do it on your own evening, at your own pace, while a Christmas film plays in the background.
- Costs a fraction of a salon visit. One bottle of polish covers many manicures, and the tools last for years.
- You choose the colour. No settling for whatever the salon has in stock — your shade, your finish, your design.
- Fixes are free. Smudge a nail at home and you just redo that one nail.
What You Need
- Nail polish remover and cotton pads
- A nail file (fine grit, not a rough one)
- A buffer block
- A wooden cuticle stick
- Cuticle oil
- A base coat
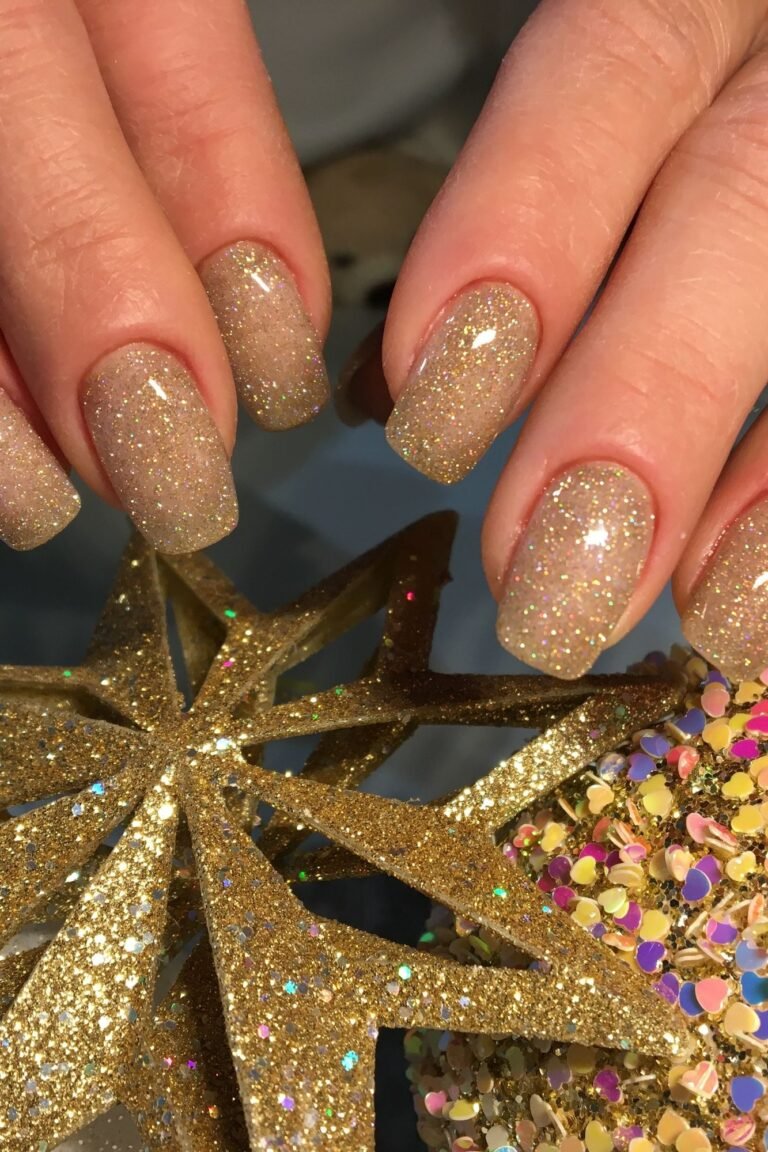
- Your Christmas colour — a deep red, emerald, or classic nude
- A top coat
- A small brush or cotton bud, for clean-up
- Hand cream
- A flat surface, good light, and a steady elbow
How to Do It
- Remove old polish and wash your hands. Take off every trace of old colour, then wash and dry your hands fully. Polish sticks best to clean, dry nails.
- Shape the nails. File in one direction only, from the edge toward the centre. A soft oval or rounded square suits most hands and is the easiest shape to keep even. Filing back and forth splits the nail edge.
- Smooth and push back. Buff the surface very lightly — just enough to smooth ridges, not enough to thin the nail. Push the cuticles back gently with the wooden stick while they are soft after washing. Do not cut them.
- Oil, then wipe clean. Rub a drop of cuticle oil into each nail and let it sit for a minute. Then wipe every nail with polish remover on a cotton pad — oil stops polish from sticking, so the nail must be oil-free before the base coat.
- Apply base coat. One thin layer on every nail, and let it dry completely. Base coat protects the nail from staining — important with dark Christmas reds — and gives the colour something to grip.
- Apply two thin colour coats. Paint the first coat thinly, leaving a tiny gap at the cuticle, and let it dry before the second coat. Two thin coats give full, even colour. One thick coat bubbles and takes forever to dry.
- Add a simple festive design. Pick one easy idea: a gold stripe on the ring finger, a single dot of gold on each nail, or a thin white line near the tip. Keep it to one design and one accent colour.
- Seal with top coat. A generous layer of top coat over the whole nail, including the very tip — wrap it over the edge slightly. This is what stops chipping and gives the salon shine.
- Clean up and moisturise. Dip a small brush in remover and tidy any polish on the skin, then finish with hand cream. Avoid hot water for an hour so the polish can harden fully.
Pro Tips
- Thin coats are everything. The single biggest mistake in a home manicure is a thick coat of polish. Thin, even coats dry faster, look smoother, and last longer.
- Let each coat dry fully. Rushing the second coat is how bubbles and dents happen. If you can, wait five minutes between coats and do something else with your hands still.
- Wrap the tip. Brushing the top coat slightly over the free edge of the nail seals it and stops the polish from lifting at the tip, which is where chips start.
- Reapply top coat every two days. One fresh layer of top coat every couple of days keeps the shine and adds days to the life of the manicure.
- Keep the bottle at room temperature. Cold polish goes on thick and streaky. If your polish has been in a cold room, warm the bottle in your hands for a minute before you start.
- Fix smudges with remover, not more polish. A smudged nail is best wiped clean and repainted — more polish on top only makes the bump bigger.
Variations
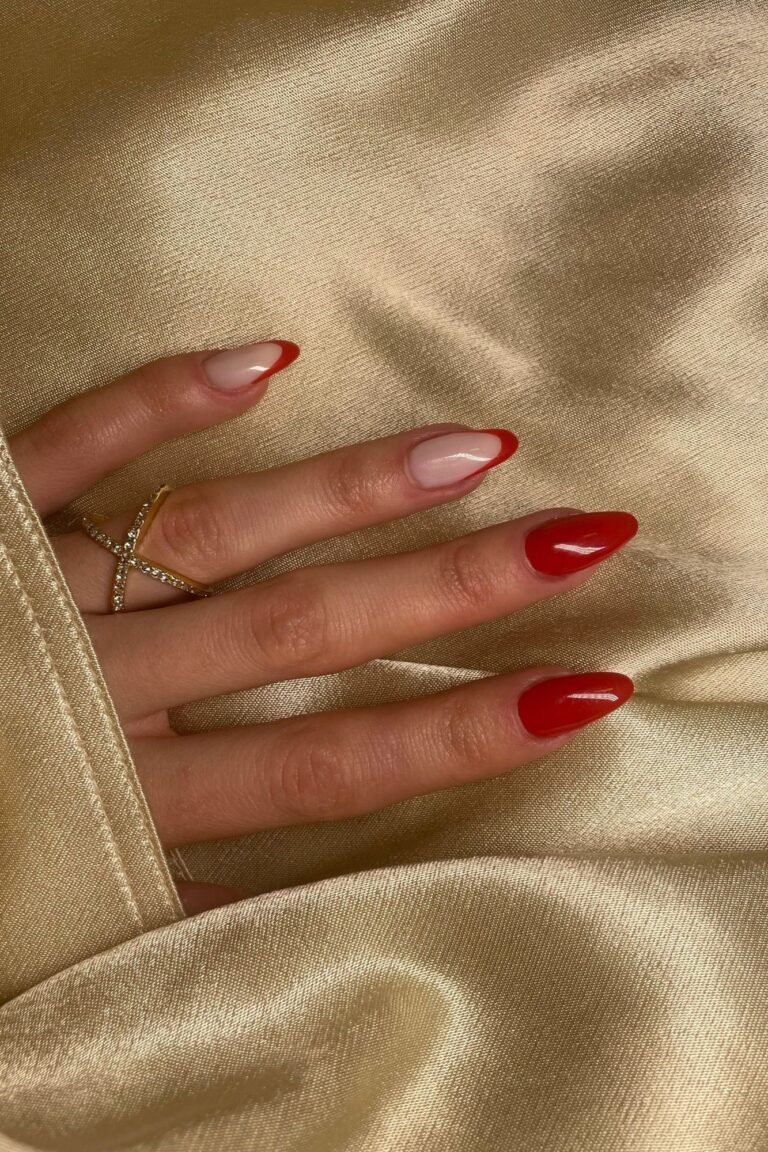
- Classic Christmas red: A deep red with a glossy top coat. The easiest festive look, and the one that suits every skin tone and every outfit.
- Emerald with gold: Deep green on nine nails and one gold accent nail. Rich and striking, and the gold keeps it festive rather than plain.
- Nude with a gold tip: A sheer nude base with a thin gold line at the tip. Quiet, elegant, and the best choice if you want festive nails that still suit the office.
- Red French tips: A nude base with deep red tips instead of white. A Christmas twist on a classic that looks polished without trying hard.
- One snowflake accent: Keep nine nails in a plain colour and add one small white snowflake or star on the ring finger with a fine brush or a sticker. Simple, and it reads as Christmas immediately.
- Matte top coat: A matte top coat over deep red or green looks modern and soft, and hides small imperfections well.
Frequently Asked Questions
How long does a DIY manicure last?
About five to seven days with a base coat, two thin colour coats, and a sealed top coat. Reapplying top coat every two days stretches it further. Wear gloves for washing up — hot water and washing-up liquid are the fastest way to ruin a home manicure.
Why does my nail polish bubble?
Usually because the coat was too thick, or the next coat went on before the first was dry. Roll the bottle gently between your palms instead of shaking it hard, which adds air bubbles. Thin coats and real drying time fix most bubbling.
How do I stop polish from staining my nails?
Always use a base coat, especially under dark reds and greens. If staining has already happened, it fades in a week or two as the nail grows, and a whitening toothpaste rubbed gently over the nail can help in the meantime.
Can I do a festive design if I am not good at nail art?
Yes — the easiest festive designs need no drawing at all. A gold stripe is just a straight line with the brush. A single gold dot on each nail is one touch of a dotting tool or a bobby pin. One accent nail with a sticker is a full design. Keep it to one idea and it will look intentional.
In Short
- Shape in one direction, push cuticles back gently, and wipe nails oil-free before the base coat.
- Two thin colour coats beat one thick one, and a top coat wrapped over the nail tip stops chips before they start.
- One simple festive idea is enough — a gold stripe, a red French tip, or a single snowflake accent nail.
- Reapply top coat every two days, wear gloves for washing up, and your home manicure will last five to seven days.
What is your Christmas manicure colour this year — classic red, deep emerald, or something quieter? Tell us in the comments, and share your best at-home manicure tip.
Featured photo: Pexels 7321735 by kaboompics.